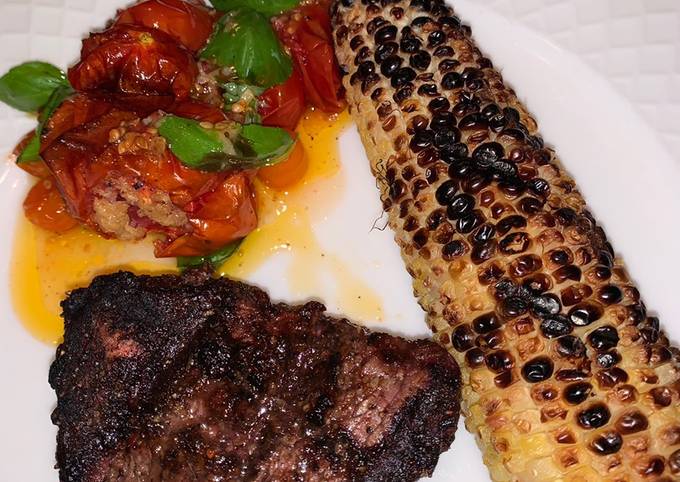
Grilled Fillet Mignon with grilled corn and roasted garlic tomatoes 🍅.
Hey everyone, it is Brad, welcome to my recipe page. Today, I will show you a way to prepare a special dish, grilled fillet mignon with grilled corn and roasted garlic tomatoes 🍅. One of my favorites. For mine, I'm gonna make it a bit tasty. This is gonna smell and look delicious.
Grilled Fillet Mignon with grilled corn and roasted garlic tomatoes 🍅 is one of the most favored of recent trending meals on earth. It is easy, it is fast, it tastes delicious. It is enjoyed by millions every day. Grilled Fillet Mignon with grilled corn and roasted garlic tomatoes 🍅 is something which I have loved my whole life. They're fine and they look fantastic.
To get started with this recipe, we have to first prepare a few ingredients. You can have grilled fillet mignon with grilled corn and roasted garlic tomatoes 🍅 using 7 ingredients and 4 steps. Here is how you can achieve it.
The ingredients needed to make Grilled Fillet Mignon with grilled corn and roasted garlic tomatoes 🍅:
- {Make ready 2 (8 ounce) of beef tenderloin.
- {Make ready 2 of corn cobs.
- {Take As needed of Fresh tomatoes.
- {Take 5 cloves of garlic.
- {Take As needed of Olive oil.
- {Get To taste of Salt, pepper.
- {Take To taste of Fresh basil.
Instructions to make Grilled Fillet Mignon with grilled corn and roasted garlic tomatoes 🍅:
- Grate garlic into 4 tablespoons of olive oil.
- Toss fresh tomatoes 🍅 with 1 tablespoon of the garlic oil, salt and pepper to taste. Now put into 350 degree oven for about 20 minutes.
- Marinate steaks with 1 tablespoon garlic oil, salt and pepper. Then place on hot grill until desired temperature..
- Place corn on grill for about 10 minutes. Plate food and add fresh basil to the tomatoes. Drizzle with more garlic oil if you want. I hope you like it! 😊.
So that is going to wrap it up for this exceptional food grilled fillet mignon with grilled corn and roasted garlic tomatoes 🍅 recipe. Thank you very much for your time. I am confident that you can make this at home. There's gonna be interesting food in home recipes coming up. Remember to save this page on your browser, and share it to your loved ones, friends and colleague. Thanks again for reading. Go on get cooking!


")


